How to setup a Metamask and buy ETH
MetaMask is one of the most popular browser extensions that serves as a way of storing your Ethereum and other ERC-20 Tokens. The extension is free and secure, and it allows web applications to read and interact with Ethereum’s blockchain.
Step 1. Install MetaMask on your browser.
To create a new wallet you have to install the extension first. Depending on your browser, there are different marketplaces to find it. Most browsers have MetaMask on their stores, so it’s not that hard to see it, but either way, here they are Chrome, Firefox, and Opera.
In this tutorial, I will be using Google Chrome as an example but the same steps apply to different browsers as well. If, for some reason, the links above don’t work for you, just search MetaMask Extension on your favorite search engine, and you can find it there.
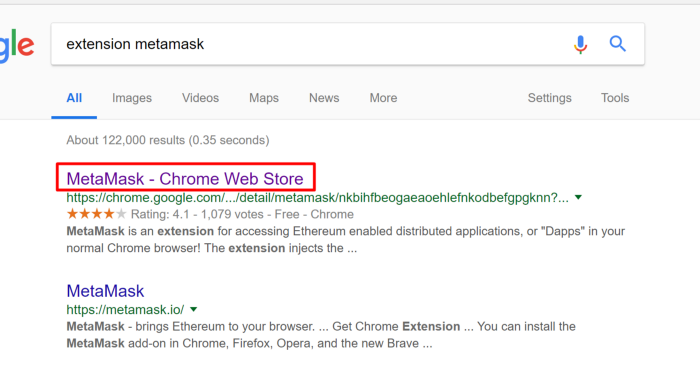
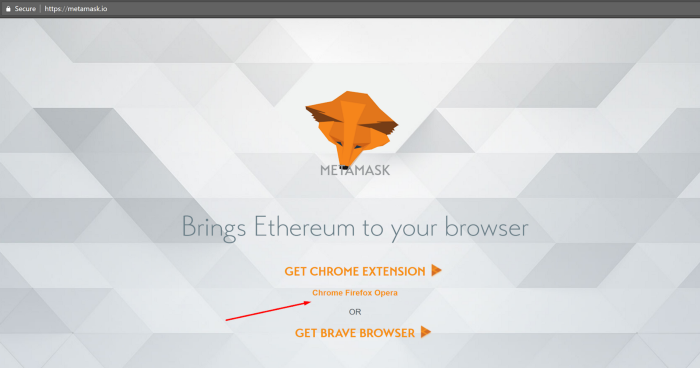
- Click on Install MetaMask as a Google Chrome extension.
- Click Add to Chrome.
- Click Add Extension.
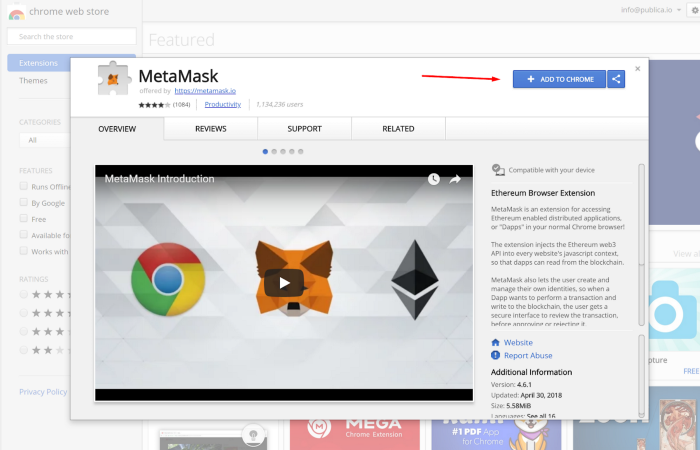
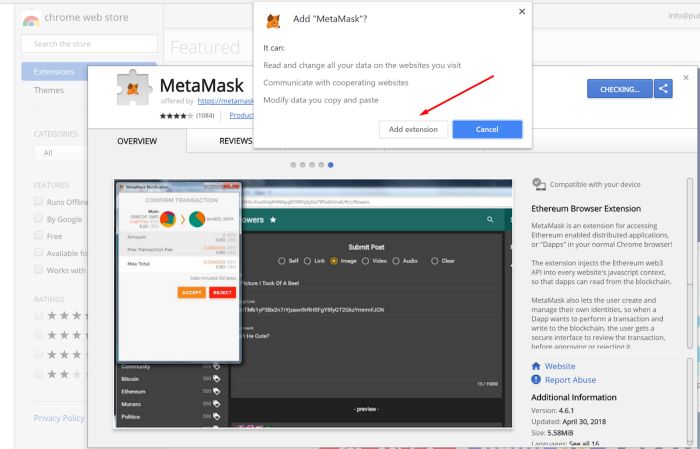
And it’s as easy as that to install the extension on your browser, now continue reading the next step to figure out how to create an account.
Step 2. Create an account.
- Click on the extension icon in the upper right corner to open MetaMask.
- To install the latest version and be up to date, click Try it now.
- Click Continue.
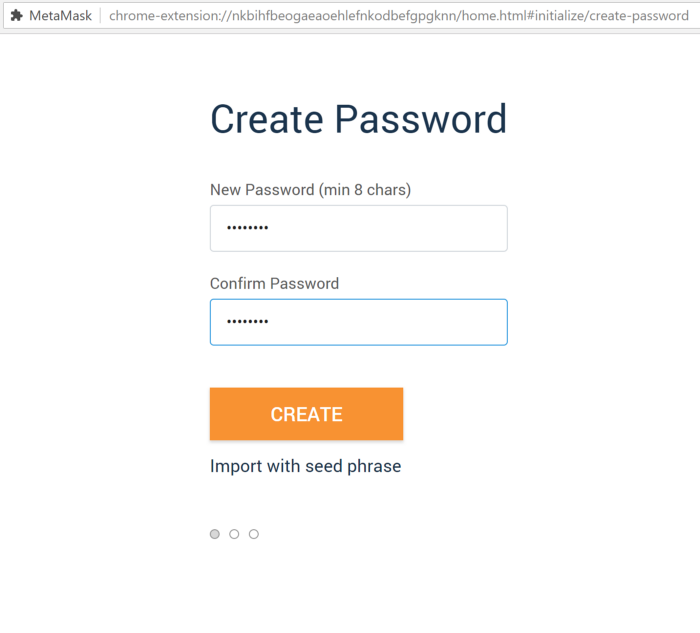
- You will be prompted to create a new password. Click Create.
- Proceed by clicking Next and accept the Terms of Use.
- Click Reveal Secret Words. There you will see a 12 words seed phrase. This is really important and usually not a good idea to store digitally, so take your time and write it down.
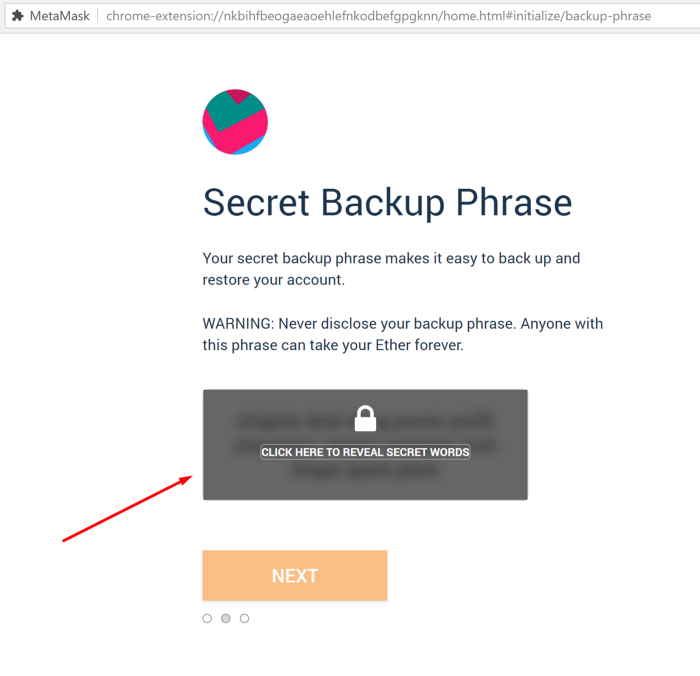
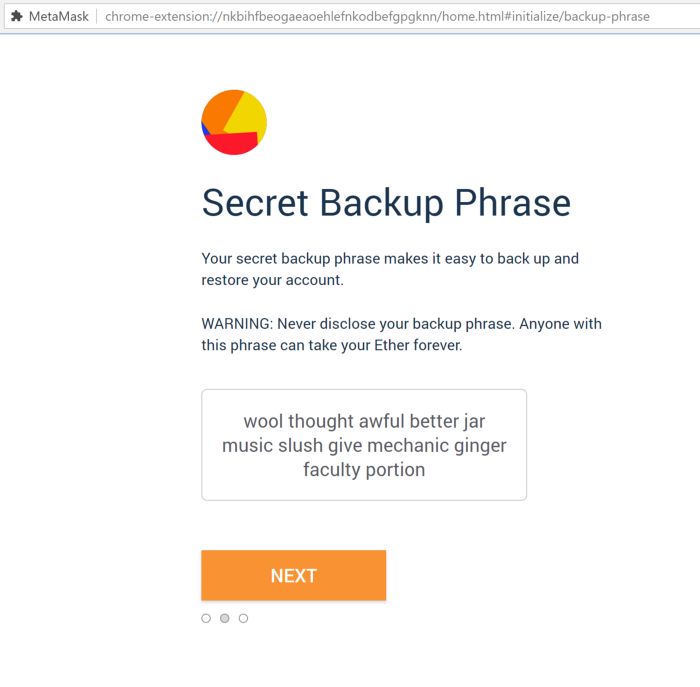
Verify your secret phrase by selecting the previously generated phrase in order. Click Confirm.
And that’s it now you have created your MetaMask account successfully. A new Ethereum wallet address has just been created for you. It’s waiting for you to deposit funds, and if you want to learn how to do that, look at the next step below.
Step 3. Depositing funds.
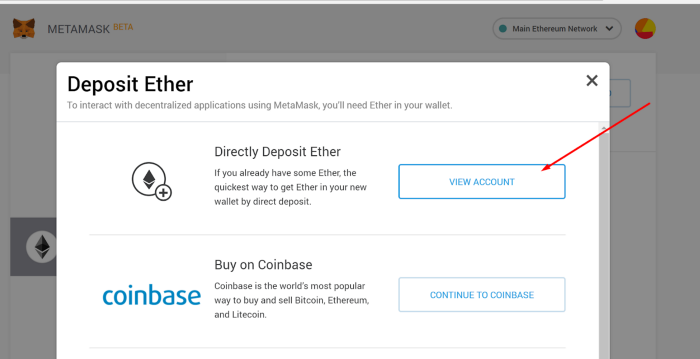
- Click on View Account.
- You can now see your public address and share it with other people. There are some methods to buy coins offered by MetaMask, but you can do it differently as well, you just need your address.
The MetaMask extension will always be available in your browser’s toolbar, ready for you to continue the journey into the Crypto world. It’s easily accessible, and as you saw from these steps, simple to use as well. Sending coins is also very intuitive; there’s a big send button, and the rest are easily understandable. But in case something wrong happens and you need to restore your account, you have this option. First, you have to back it up, and let’s look at how we can do that.
- You can now see your public address and share it with other people. There are some methods to buy coins offered by MetaMask, but you can do it differently as well, you just need your address.
The MetaMask extension will always be available in your browser’s toolbar, ready for you to continue the journey into the Crypto world. It’s easily accessible, and as you saw from these steps, simple to use as well. Sending coins is also very intuitive; there’s a big send button, and the rest are easily understandable. But in case something wrong happens and you need to restore your account, you have this option. First, you have to back it up, and let’s look at how we can do that.
How to backup and restore your wallet using the seed phrase?
Suppose you change browser or computer and want to connect your wallet again, here’s how to do it. First, you have to find your seed phrase, which you should have stored, to begin with.
- Click on the account icon.
- Click Settings.
- Find Reveal Seed Words and click it.
- Enter your password.
Now save the Secret Seed Phrase somewhere, preferably not digitally. The backup is done now all you have to do is to learn the restoring process.
- Open Metamask and click Import using the account seed phrase.
- Enter your Seed Phrase.
- Create a new strong password.
- Click Restore.
And that’s it now you have successfully restored your account by following these easy steps. I can say that you are fully prepared now to take on the crypto world as far as your wallet management is concerned

